8. Parking

Parking

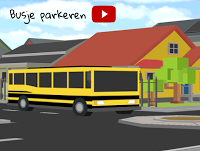
In this game you can drive a bus! The intention is to park the bus without hitting the border (the green part). When the bus is properly parked, you can proceed to the next, slightly more difficult level. The "Bus parker" game is popular worldwide. So cool we can now make this ourselves!

You learn to:

  • program more complicated codes

Register before you start the exercise. Click the button below and sign up.

Click here

ORIENTATION

Take a look at the example and consider the following questions:

  • What should I do?
  • What are the goals?
  • What are the expectations?
  • What can I already do?
  • What do I still have to discover?

PREPARATION

View the steps at 'perform'. Then answer the following questions:

  • Which steps should I follow?
  • Which steps can I follow?
  • How much time do I need?
  • What tools do I need?

PERFORM

Perform the steps one by one. Do you not remember how to do it? View the hints or download the solution.

STEP 1

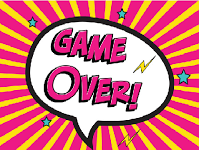
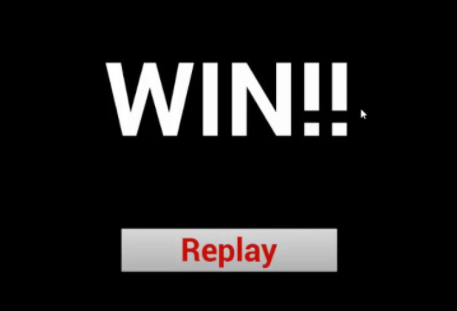
As usual, open the online Scratch editor and delete the cat sprite. Design your own homepage (name: "menu"). Add a title and a start button. Design the following backgrounds yourself: game over / won!

Examples:

busgameoverwinner

STEP 2

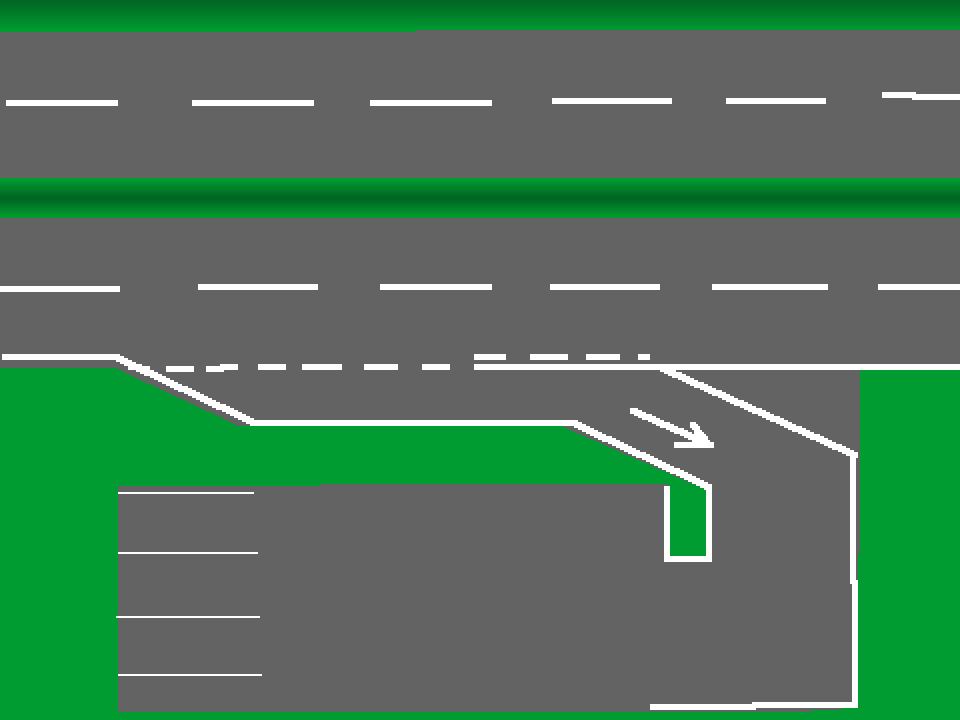
The routes that the bus has to travel:

  • Level 1: Save the image below and insert it into Scratch
  • Level 2: make as in the example
    Level 3: let your creativity run wild and design / draw the backgrounds yourself

    Choose what you do!

STEP 3

In this game we need 3 sprites: a parking space (to be drawn yourself), a bus and the start button from step 1. Do not go to the next step until these sprites are created.

STEP 4

Start programming ! We start with programming the playing fields.

  • When the green flag is clicked, we reach level 0 and send the signal "prepare level".
  • When the "prepare level" signal is received, the backdrops must be changed per level.
  • When the "game over" signal is received, the backdrop is changed to the "game over" backdrop.
  • When the "win" signal is received, the backdrop is changed to the "won" backdrop.

STEP 5

The startbutton 2 should appear when the green flag is clicked and disappear when level 1 starts. When the start button is clicked, level 1 becomes visible and a signal (prepare level) is sent. Make sure the variable 'level' gets the correct value.

The parking must disappear when the signals "win!" And "game over" are received. This sprite should also not be visible in the start menu. First click on the icon of the car park to program it. 4

When the "prepare level" signal is received, the parking lot appears. The parking lot must be in a different place per level. The x and y values ​​must therefore be adjusted per level.


STEP 6

Select the bus and program as follows: as soon as the bus receives the "start" signal, it will appear. Furthermore, he may not touch the color green, then it is game over.

When the parking is reached (and not the color gray: otherwise you always win), you go to the next level. Again the signal "preparing level" is given.
The bus is not visible at the start background.

The bus appears when level 1 starts. The bus must be able to drive throughout the level (data: km / h) (arrow key up and down). The bus should turn with the left and right arrows.
You do this like this:

 96

When the "prepare level" signal is received, the "start" signal is sent. The bus must start at a different place per level. The x and y values ​​must therefore be adjusted per level.

Normally the game now works perfectly. You did well again!

uitdaging

Add an extra dimension to the game by adding a score.

goedgedaan     Well done!

REFLECT

Look back at the project you just made. Ask yourself the following questions:

  • Does the program work as I expected? Why / why not?
  • What works well?
  • What works less well?
  • How can I approach it differently?

Download

Click on the link below to download a sample solution.


Upload the project in the Scratch environment. Click the button below and follow the steps.

Click here